8.06.2016

Vasarely Blanket Update #9: LAST UPDATE! YAY!


Update! Haha yeaaaaaaas!

That's right, you guys. I did it.  It took me over a year, but I finished the damn thing.  I finished stitching everything together a while back, but weaving in the ends (weaving in the ends of things is the WORST) and crocheting a border around the whole thing was agonizing so obviously those tasks were dragged out.


ok, now what? because I am definitely not making a blanket ever again.


if you would like to make your own vasarely style blanket, this is the source of the pattern I followed: Le Blog Purple

7.13.2016

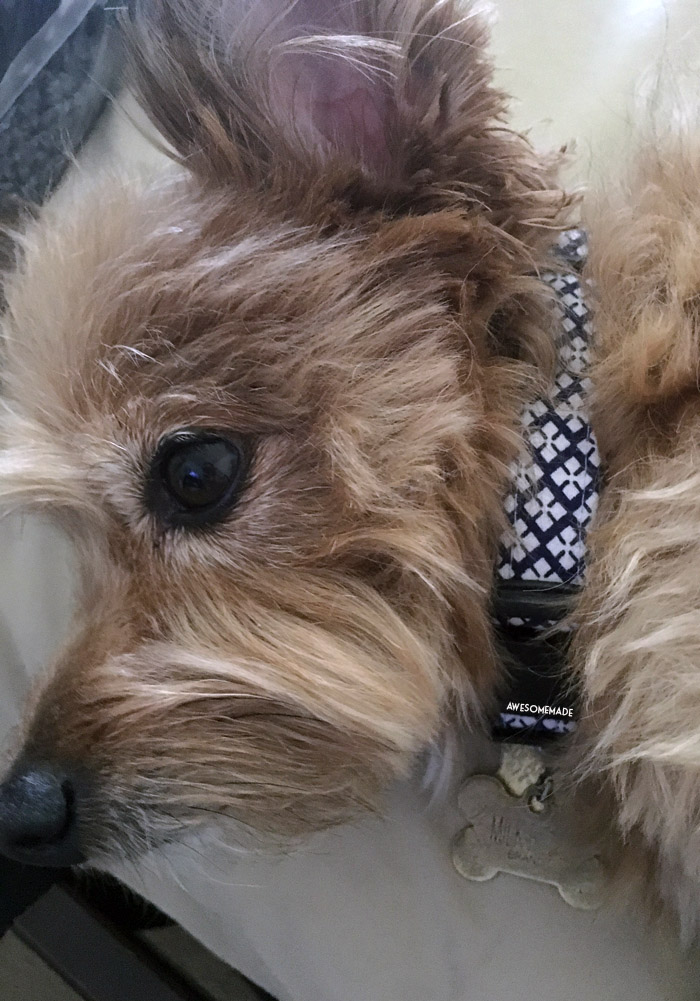
New Dog Collar for the Summer

Gave Mochi some cool mediterranean vibes for the summer.  Stay cool and hydrated, dawgs.


This time I used interfacing instead of nylon webbing.  way easier to assemble but I think next time I would make it a little more thicker by adding more folds. :-)  Didn't have a matching bowtie because I forgot, but maybe next time. 


2.05.2016

YAAAS


YAAAS I made a banner that says YAAAS.


Sparkle mod podge is the best thing in the world.  I think I've talked about this before.  I sandwiched loose multicolored glitter with sparkle mod podge so that the glitter won't fallout.  Nothing is more annoying than getting loose glitter everywhere, which is why I love mod podge.  Worth the extra step!


yaaas.

1.03.2016

Yo-Yo Quilt Remnants Christmas Ornament Thingy

A while back, my cousin found part of this old yo yo quilt that was made by our great-grandmother Eugenia.  She wanted to share it among relatives so she mailed out pieces of the quilt to other relatives, including me.  I've never met my great grandmother, so I think its pretty cool that I now I have something of hers that she not only touched, but made herself. It's only a couple of yo-yos, and I don't make yo-yo quilts, and I have no intention to start making a yo-yo quilt because of it.  But I also didn't want to just hoard random yo-yo pieces sitting in a ziploc bag without doing anything crafty with it.  The color palette is pretty random and totally outdated.  I figured it was just made out of random fabric scraps that she had.  Whatever the case, I wanted to work with it.

So with the help of Pinterest (searched: yo-yo quilt ideas) I figured making an ornament out of it, is a way of utilizing the yo yo pieces instead of keeping it in a plastic bag forever.  I wouldn't have enough pieces to make a project bigger than this, anyways.

At first I thought of using a styrofoam ball to use as a base, since you can just pin the yo yo pieces on it, but styrofoam balls are kind of expensive. Or at least cost more than I had thought.  I had no idea, I thought they were cheap for some reason.  Instead, I decided to go with the "use what you have"* route, and stitch the yo-yo's together in an overlapping pattern, and stuff it with polyfill.  I also decided to set a color scheme and just use the red/pink/black floral pieces (these pieces I had the most of, so it worked out that way), just to make it look cohesive.


Things I wish I had done now that I think of it in hindsight: iron out the pieces so that they are less puffy and easier to stitch.  I am still contemplating adding some sort of glitter or sequin to it and making it over the top, but for now it's hanging in my room.


It's 2016 and my new year's craft resolutions are to finish my damn vasarely blanket and to improve my sewing machine skills.  Here's hoping I update this blog in the near future with those resolutions being fulfilled.  Cheers.


*this must be my craft motto, use what you have at all costs.
(Creativity is fun when it challenges you)

12.20.2015

Crocheted Mochi Golf Club Cover

My dad has been suggesting this thing forever and ever and I finally decided to tackle this project.

I'm not THAT much of a yarn hoarder, but I've been meaning to go through my rubbermaid bin of yarn and use up some stuff that I've had for years.  When my dad first requested making a golf club cover out of my dog's head (I just realized how morbid that sounds),  I knew I had the yarn for it (same yarn used for my turkey tissue cozy), but I didn't have any freaking clue on how I would start such a pattern.  Luckily I found a free pattern from Lion Brand for golf club covers, and just made one in a Mochi-colored shade.  Because the yarn was sport weight, I decided to double the yarn to make the project more sturdy.  I created a snout by crocheting a cylinder-like piece, adding some polyfill inside to make it fuller.  Black satin ribbon was used for the nose and mouth, and I cut out some black stiff felt for the eyes, using hot glue to stick it onto the face, and then stitching around the eyes with thread for added security and to make it look more finished.  For the ears, I kinda played the shape by ear (pun!).   I crocheted small triangles and then single-crocheted all around to make the triangles rounded in shape.  I felt like the overall face wasn't shaggy enough, so I added some yarn whiskers on the top of his nose.  For the final touch, I added a pom pom on the back because Mochi's tail is fluffy like that.  He's so cutie.


Twinsies

I can't stop laughing at this thing.

God, I hope my dad doesn't lose this on the golf course.  He loses everything.

12.02.2015

Vasarely Blanket (ongoing project) update #8

Progress! To get a better overview of my blanket layout and to keep track of my pieces, I easily created a handy little printout of my blanket layout using Photoshop:


This way, I get to map out my blanket without having to unfold the blanket and spreading the thing all out onto the floor or bed.  I took some scrap yarn in a different color and tied a bow onto the top left corner to mark the front* side of the blanket so I can match it up with the printout.  This printout is so helpful.  I'm less likely to make any mistakes e.g. sewing a white diamond on one side when it should've been a black piece, or sewing on a piece upside down.

It is way easier to sew smaller groups of the blanket at a time, too.  So when I stitch together a section of a blanket, I outline that section on the printout.  Then when I stitch that particular section to the rest of the blanket, I shade that area in.


Sometimes the length of the sides do not match (because I didn't block my diamonds), but I found that using this hair clip to hold /match the sides together helps me distribute the stitches evenly without any worries of leaving any slack behind.  These hair clips make things so much easier, and are definitely staying in my crochet bag for future projects.  I wonder if there is even a product actual made for this purpose?  I bet you its way more expensive than these clips.


*There really isn't a front or back side of the blanket, just using this to match the printout/pattern layout.

11.18.2015

Vasarely Blanket (ongoing project) update #7

Continuing to stitch this blanket together.  So far weaving in the ends is the most annoying part (like I predicted).  My plan is to try and stitch all the diamonds I've already created together, then crochet the remaining diamonds to finish off the blanket.  It's looking like the estimates I made aren't that accurate because I still have about 30-ish or more diamonds more to crochet and the blanket seems bigger than I estimated already.  Man, I'm very bad at gauging my projects!  I still think it looks great, considering I didn't do any blocking (bad at doing this, too).  There is some puckering at some parts where I stitched which bothers me, so I plan to redo these sections.


Planning to finish this by the end of the year  Hopefully!